Waterproofing & Foundation Repair
Description
We use outside and inside (see drain tile page) applications. The outside application requires excavating, straightening walls, repairing cracks, applying rubber membrane to cracks, applying foundation coating to walls and 2 layers of 6 mil plastic. Then, installing new drain tile, covering with clean rock, installing new window wells, and backfilling with grading to drain water away.
STEP 1
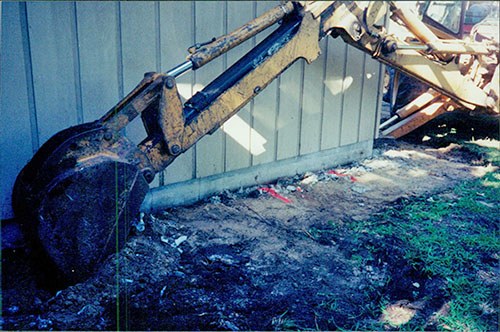
The walls are excavated using the backhoe.
STEP 2
The walls are cleaned with wire brushes to remove all dirt. Then a propane heater is used to dry all moisture from the wall.
STEP 3
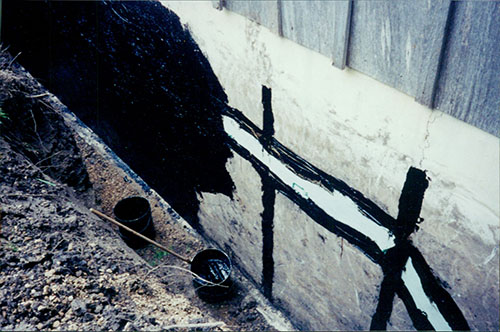
All cracks are patched using a rubber membrane.
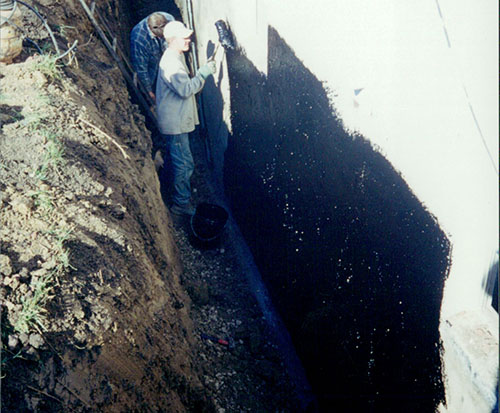
The wall is then given a THICK coat of tar.
STEP 4
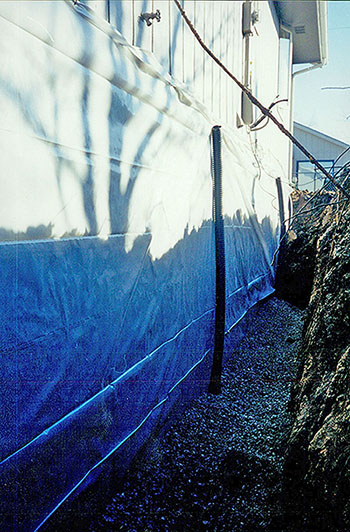
Two layers of 6 mil plastic are placed over the tar.
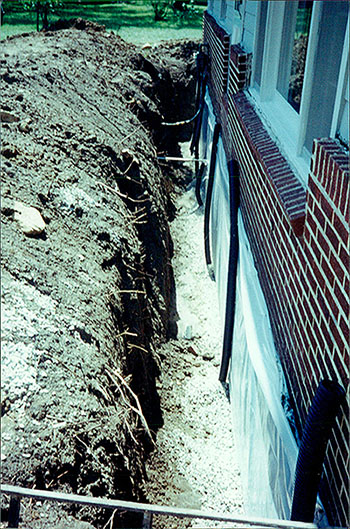
Three inch perforated pipe is placed vertically along the walls at all window wells. A 3 inch draintile is also placed along the footing and covered with gravel. This pipe drains exterior water into the sump pit, floor drain, or natural drain.
STEP 5
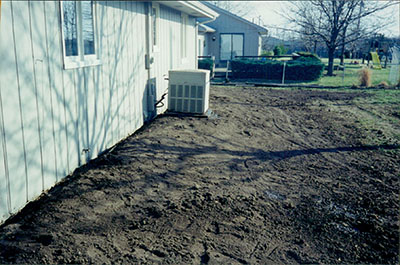
Finally, the trench is back-filled and graded out.

